Table of Contents
There’s something magical about crafting soap with your own hands. Imagine the earthy aroma of olive oil blending with simple ingredients, transforming into a nourishing bar that feels like a hug for your skin. Whether you’re drawn to the tradition of Castile soap or want to avoid harsh chemicals, this guide unlocks the art of creating gentle, skin-loving bars.
Cold process soapmaking has roots stretching back centuries, yet it’s surprisingly approachable. With basic equipment like a stainless steel bowl and immersion blender, you’ll combine oils, lye, and water to create a luxurious mixture. Safety is key—gloves and goggles protect you during the early steps, but the result is worth it: creamy lather, natural moisturizing properties, and bars that age like fine wine.
This walkthrough covers every detail, from sourcing pure ingredients to troubleshooting texture issues. You’ll learn why olive oil-based recipes excel for sensitive skin and how patience during the curing phase (weeks, not days!) ensures long-lasting bars. Ready to turn your kitchen into a mini soap studio? Let’s begin.
Key Takeaways
- Olive oil soap is ideal for sensitive skin due to its natural, non-irritating properties.
- Cold process methods preserve the oil’s beneficial qualities without excessive heat.
- Safety gear like gloves and goggles is essential when handling lye solutions.
- Curing time (4-6 weeks) ensures bars harden properly and become milder.
- Traditional Castile soap uses 100% olive oil for a uniquely gentle lather.
Introduction to Olive Oil Soap
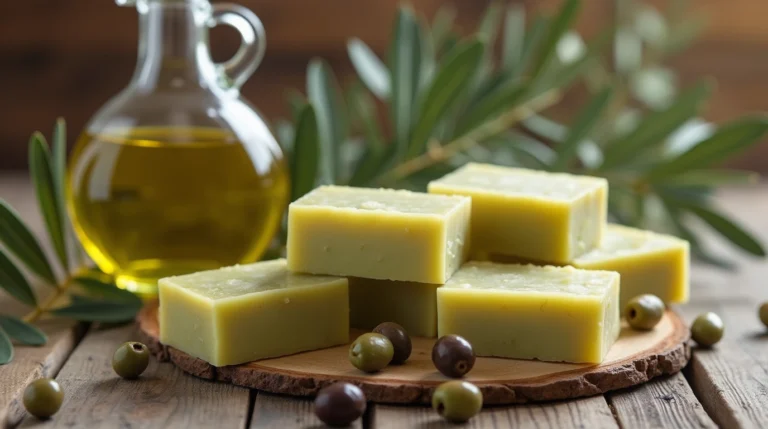
For centuries, artisans have harnessed olive oil’s nourishing properties to create cleansing bars that outlast trends. Unlike modern formulas packed with synthetic additives, traditional recipes rely on simplicity: just olive oil, water, and lye. This minimalist approach yields a soap that cleanses without stripping natural moisture.
What Makes This Soap Unique?
Extra virgin olive oil brings antioxidants like vitamin E to the mixture, forming a protective barrier for dry or reactive skin. Historical records trace its use to 8th-century Aleppo soapmakers and Spanish Castile soap artisans. Their legacy lives in recipes requiring only three ingredients—a stark contrast to commercial bars with 15+ components.
Benefits for Sensitive Skin and Everyday Use
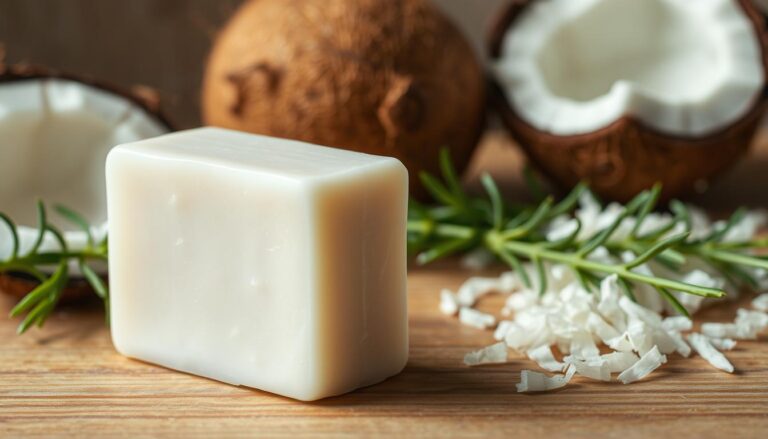
Gentle lather and natural glycerin make this oil soap ideal for eczema-prone complexions. Unlike coconut-based options that can dry skin, olive oil maintains pH balance while dissolving impurities. Its creamy texture also works wonders as a shaving foam or makeup remover.
| Soap Type | Key Ingredients | Lather Quality | Skin Impact |
|---|---|---|---|
| Olive Oil | Olive oil, lye, water | Creamy, low-suds | Hydrating |
| Coconut Oil | Coconut oil, additives | Foamy | Drying (if overused) |
| Tallow-Based | Animal fats, fragrances | Dense | Variable |
The cold process method preserves these benefits by avoiding high heat. Patience during curing—typically 6 weeks—allows bars to harden and become milder, perfect for daily face and body care.
Essential Ingredients and Equipment
Crafting exceptional bars starts with gathering the right components. Precision matters—a slight measurement error can alter texture or safety. Let’s explore what you’ll need to turn raw materials into skin-loving creations.
Core Components for Success
Every recipe relies on three essentials:
- Olive oil (extra virgin or Pomace) forms the base, offering gentle cleansing
- Lye (sodium hydroxide) triggers saponification
- Distilled water balances the chemical reaction
Optional additions like lavender essential oils or sodium lactate (for harder bars) let you customize results. Some recipes blend coconut oil for extra lather, but pure versions keep olive oil as the hero ingredient.
Tools That Transform Raw Materials
Accuracy prevents mishaps. Use these non-negotiables:
- Digital scale for measuring to the gram
- Stainless steel bowls resist lye corrosion
- Immersion blender speeds up trace formation
Safety gear isn’t optional—nitrile gloves and goggles shield against lye splashes. Work in ventilated spaces, and dedicate tools solely to soapmaking. A reliable thermometer ensures oils and lye solution mix at optimal temperatures without excessive heat.
Stainless steel or silicone molds create uniform bars, while parchment-lined wooden containers offer traditional curing setups. Remember: clean equipment prevents cross-contamination between batches.
Understanding the Soap Making Process
At the heart of every bar lies a fascinating chemical dance. When lye meets fats, they transform through saponification—a reaction creating soap and natural glycerin. This alchemy turns simple ingredients into cleansing agents that respect your skin’s balance.
Saponification Explained
Lye (sodium hydroxide) breaks down fatty acids in oils, binding them to form soap molecules. The reaction continues for 24-48 hours, neutralizing the lye entirely. Safety remains critical: always wear gloves and work in ventilated spaces during this phase.
Watch for trace—the point where the mixture thickens to pudding consistency. Stirring with a stick blender accelerates this stage. “Reaching trace means emulsification is complete,” notes veteran soapmaker Linda Stevens. “It’s your green light to pour into molds.”
The Cold Process Method Overview
Unlike hot methods, the cold process keeps temperatures below 130°F. This preserves olive oil’s vitamins and antioxidants. Expect a longer cure time (4-6 weeks), but the wait rewards you with ultra-mild bars ideal for castile-style recipes.
Benefits shine in everyday use: creamy lather, deep hydration, and no synthetic additives. Keep oils and lye solution between 80-100°F before blending. Consistent stirring prevents separation, ensuring even saponification across your bowl.
How Do You Make Olive Oil Soap: Step-by-Step Instructions
Creating handmade bars requires precision and care from start to finish. Follow these steps to transform raw ingredients into skin-loving cleansers while maintaining safety and quality.
Preparing Your Workspace and Measuring Ingredients
Begin by clearing a flat surface and laying down protective paper. Wear gloves and goggles to shield against splashes. Use a digital scale to measure oils and lye separately in stainless steel containers—never aluminum.
Preheat olive oil to 100°F (38°C) using a double boiler. For the lye water, slowly add sodium hydroxide crystals to distilled water (never reverse this order). Stir until dissolved, then let cool to 100°F. Both components must match temperatures before mixing.
Mixing Lye, Water, and Oils
Pour the lye water into warmed oils in a steady stream. Use a blender on low speed to combine them. “Pulse for 10 seconds, then stir manually,” advises soapmaker Elena Martinez. This prevents overheating and ensures even emulsification.
Keep the blender submerged to avoid air bubbles. The mixture will gradually thicken from clear liquid to opaque cream. Monitor closely—this stage determines your soap’s final texture.
Achieving the Perfect Trace
Continue blending until reaching trace, where drizzled soap leaves temporary marks on the surface. This pudding-like consistency means saponification has started. Immediately pour into molds lined with parchment paper.
Cover molds with insulation (like towels) for 24 hours to maintain reaction heat. After unmolding, cut bars within 48 hours. Cure them on racks in a cool, dry space for 4-6 weeks before use.
Tips for Perfecting Your Castile Soap
Mastering Castile soap requires finesse with ratios and timing. Small tweaks can transform soft, crumbly bars into firm, long-lasting creations without compromising their gentle nature.
Using Sodium Lactate and Water Discounts
Reducing water content by 10-15% accelerates trace and produces harder bars. This “water discount” method concentrates the lye solution, speeding saponification. Caution: Too little water risks lye pockets forming.
Sodium lactate—a salt derived from fermented sugars—strengthens bars when added at 1 tsp per pound of oils. Dissolve it in lye water before mixing. Veteran artisan Mara Lee notes: “This additive cuts demolding time by half, especially in intricate shapes.”
Adjusting for Texture and Hardness
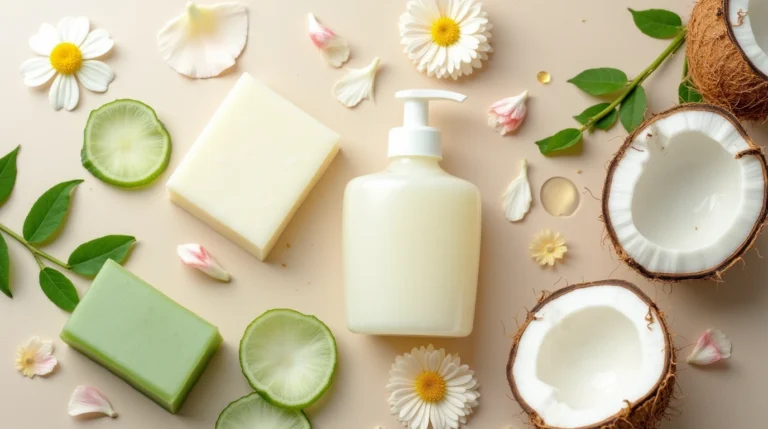
For creamier lather, blend 10% coconut oil into your recipe. Balance it with extra olive oil to maintain mildness. Kaolin clay (1 tbsp per pound) boosts slip for shaving bars without altering pH.
If bars remain sticky after curing, extend the drying time by 2 weeks. Essential oils should be stirred in after reaching trace to preserve their scent. For stubborn separation issues, rebatch the soap by grating and reheating it with a splash of distilled water.
Experts recommend testing adjustments in small batches. While these methods add steps, they elevate homemade bars to professional quality. Patience remains key—proper technique yields luxurious results worth the wait.
Common Challenges and How to Overcome Them
Even seasoned crafters encounter hurdles when working with lye and delicate mixtures. Recognizing these challenges early helps you navigate them confidently while maintaining a safe, efficient workspace.
Lye Handling and Safety Precautions
Lye demands respect—always wear nitrile gloves, goggles, and long sleeves. Work in a ventilated area away from children and pets. “Never compromise on eye protection,” warns chemical safety expert Dr. Rachel Nguyen. “Even a tiny splash can cause irreversible damage.”
- Store lye in airtight containers labeled “Danger: Corrosive”
- Mix lye and water in a stainless steel sink or spill-proof tray
- Keep vinegar nearby to neutralize accidental spills
If your mixture overheats or separates, stop blending immediately. Let it cool to 100°F before gently stirring with a silicone spatula. Always test small batches when adjusting recipes.
Troubleshooting Trace and Mixture Issues
A slow trace often stems from low temperatures or insufficient blending. Warm oils to 110°F and pulse your blender in short bursts. For over-thick mixtures, add 1 tsp of distilled water and stir manually.
Common fixes include:
- Uneven textures: Strain through a mesh sieve before molding
- White spots: Rebatch with a double boiler
- Oil separation: Stick-blend for 2 extra minutes
After pouring into molds, cover with cardboard to retain heat without trapping condensation. Clean tools with white vinegar followed by dish soap—never mix residual lye with food prep areas.
Most issues resolve with precise measurements and controlled temperatures. Document each batch’s variables to identify patterns. With practice, you’ll transform frustrations into opportunities for refinement.
Enhancing Your Soap with Colors and Scents
Transform basic bars into aromatic masterpieces using nature’s palette. Thoughtful additions elevate your castile soap from functional to artistic while maintaining its gentle properties. Let’s explore methods to infuse sensory appeal without compromising quality.
Essential Oils: Timing Is Everything
Add fragrances after reaching trace to preserve their aroma. Lavender essential oil pairs beautifully with olive oil bases, offering calming effects for sensitive skin. Use 0.5 ounces per pound of oils—overdoing it may irritate or accelerate thickening.
Citrus scents like bergamot fade faster during curing. Blend them with earthy notes like cedarwood for longevity. Always test combinations in small batches first.
Natural Colorants That Impress
Incorporate pigments at light trace for even distribution. Cambrian Blue Clay adds a soft gray hue and detoxifying benefits. For vibrant swirls, mix spirulina powder into a portion of the mixture before pouring.
| Colorant | Source | Effect | Skin Benefit |
|---|---|---|---|
| French Green Clay | Volcanic ash | Muted green | Absorbs excess oil |
| Annatto Seed | Plant-based | Warm orange | Anti-inflammatory |
| Mica Powder | Mineral | Shimmering tones | Non-comedogenic |
Create marbled designs by layering colored batches in molds. Use a skewer to gently swirl layers—overmixing blurs patterns. Cure multi-colored bars an extra week to stabilize hues.
Pro tip: Natural pigments may morph slightly during saponification. Embrace these subtle shifts as part of your soap’s handmade charm.
Curing and Storing Your Handmade Soap
The final transformation of your creation happens not in the pot, but on the curing rack. This phase determines whether your bars become brittle disappointments or long-lasting luxuries. Proper technique here elevates homemade products to professional-grade skincare.
Optimal Curing Times and Conditions
Patience pays dividends during the 4-6 week curing period. Water evaporation allows bars to harden naturally, while residual lye completes neutralization. Artisan soapmaker Gina Torres notes: “Six-month-old Castile bars develop a silky lather that new batches can’t match.”
Ideal conditions include:
- 50-70°F temperature range
- 40-50% humidity levels
- Airflow from open shelves or mesh racks
| Curing Duration | Hardness Level | Lather Quality |
|---|---|---|
| 4 weeks | Medium | Moderate |
| 3 months | High | Rich |
| 1 year | Exceptional | Silky |
Proper Storage for Longevity
Once cured, store bars in breathable containers like unsealed cardboard boxes. Avoid plastic wrap—it traps moisture and causes mushiness. Rotate bars monthly if storing long-term to prevent flat spots.
For daily use, keep soap on slatted dishes that drain excess water. High humidity areas require silica gel packets nearby. Well-maintained bars retain their properties for up to two years, developing character like aged cheese.
Conclusion
Crafting natural bars blends science with creativity—a rewarding journey from raw ingredients to skin-loving cleansers. By mastering preparation, precise mixing, and patient curing, you transform simple components into luxurious, gentle products.
Following safety protocols ensures the cold process method remains manageable. Gloves, goggles, and accurate measurements protect while allowing chemical reactions to work their magic.
Once comfortable with the basic recipe, explore additives like clays or essential oils. Each batch becomes a chance to refine textures and personalize care routines.
Handmade creations offer full control over ingredients, avoiding harsh additives found in commercial options. This results in bars that nourish sensitive complexions while connecting to centuries-old traditions.
Ready to begin? Start with small batches, document each step, and celebrate your first cured bar. Share results with fellow crafters or gift personalized pieces.
Thank you for exploring this timeless craft. Stay tuned for advanced techniques like layered designs or herbal infusions to elevate future projects.
FAQ
What safety gear is necessary when handling lye?
Wear nitrile gloves, goggles, and long sleeves. Work in a ventilated area to avoid inhaling fumes. Keep vinegar nearby to neutralize spills.
Can coconut oil be added to olive oil soap recipes?
Yes! Coconut oil boosts lather and hardness. Use 10-30% in recipes to balance cleansing properties without drying skin.
Why does cold-process soap require weeks to cure?
Curing allows excess water to evaporate, creating a harder, longer-lasting bar. Castile soap needs 4-6 weeks for pH stabilization and mildness.
How do you know when soap batter reaches trace?
Trace occurs when the mixture thickens to pudding-like consistency. Use an immersion blender until drips leave temporary patterns on the surface.
What natural colorants work best in olive oil soap?
Turmeric adds yellow tones, spirulina creates greens, and clays like French green provide earthy hues. Mix powders with oils before adding to batter.
Can sodium lactate replace water discounts for harder bars?
Sodium lactate strengthens bars without reducing liquid content. Add 1 tsp per pound of oils to the lye solution for easier unmolding.
Why does my soap develop a white ash layer?
Soda ash forms from sodium carbonate reacting with air. Prevent it by spraying the mold with 99% isopropyl alcohol or covering it during curing.
How should handmade soap be stored after curing?
Keep bars in a cool, dry place with airflow. Use breathable containers like paper bags or wooden boxes to prevent moisture buildup and rancidity.
Are essential oils safe for sensitive skin in soap recipes?
Dilute properly—typically 3-5% of total oil weight. Patch-test first. Lavender and chamomile are gentler options compared to citrus or mint oils.
Can lye water temperature affect saponification?
Yes! Ideal lye solution and oil temperatures range between 100-120°F. Too hot or cold may cause separation or accelerate trace unevenly.